PVExa Inspect

Every cell.
A clearer quality
decision.

Inspect EL images at cell level, identify defects and apply your factory's quality criteria within your existing production workflow.

Book a demoExplore the inspection →
Cell-level analysis
·Factory-specific criteria
·Local inference
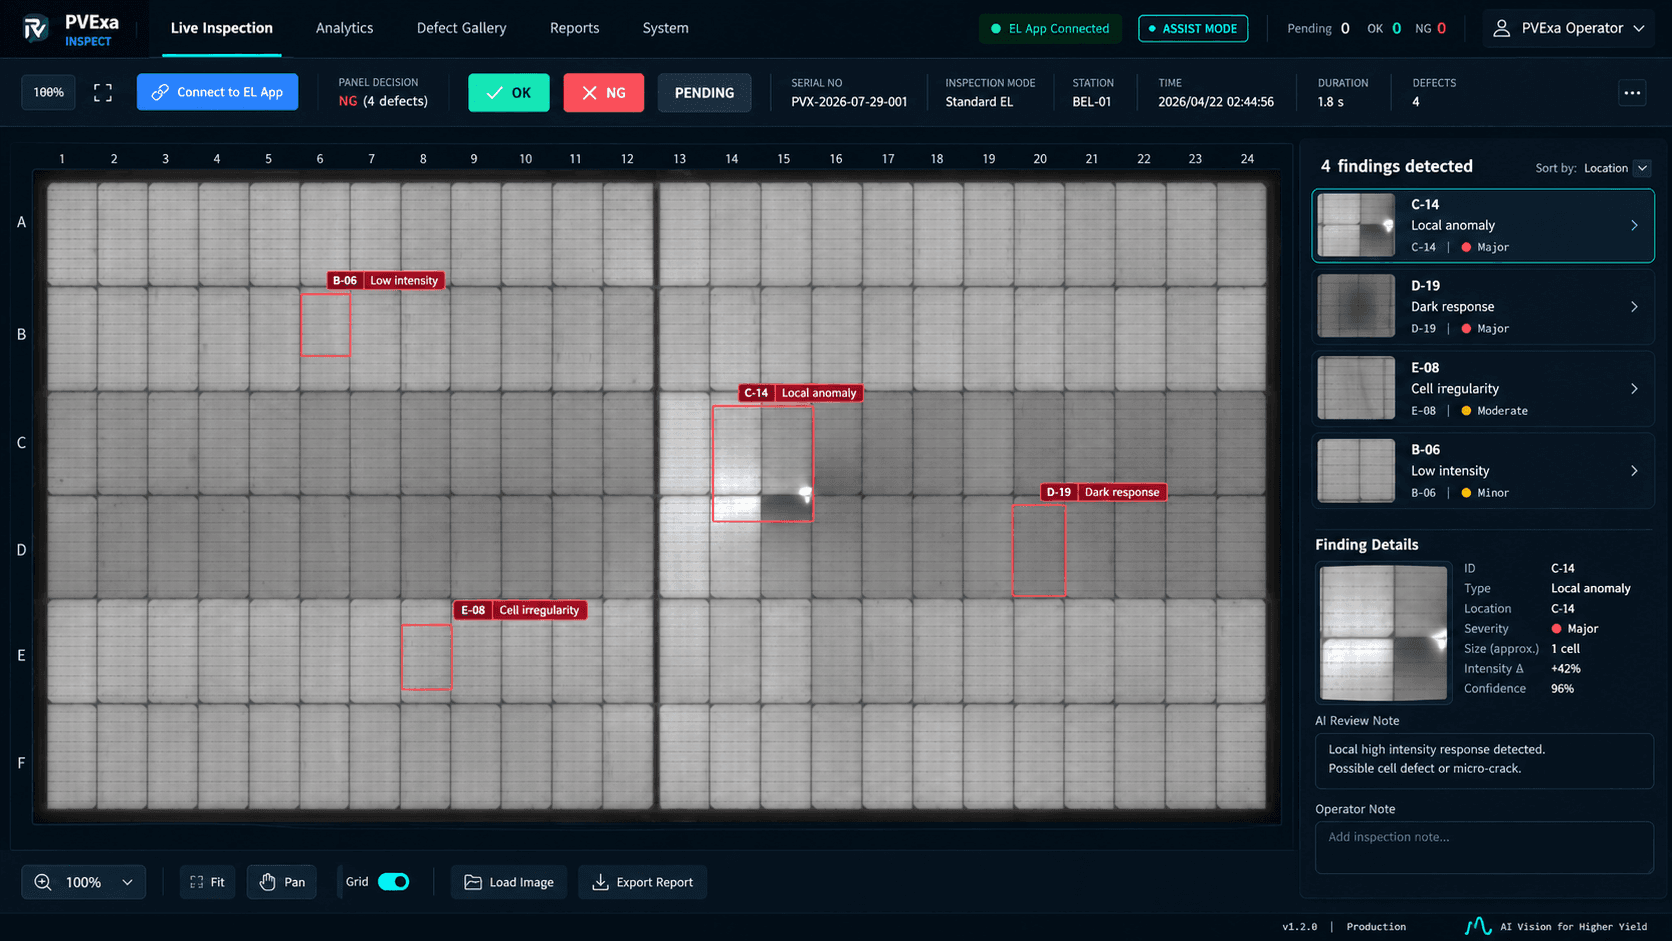
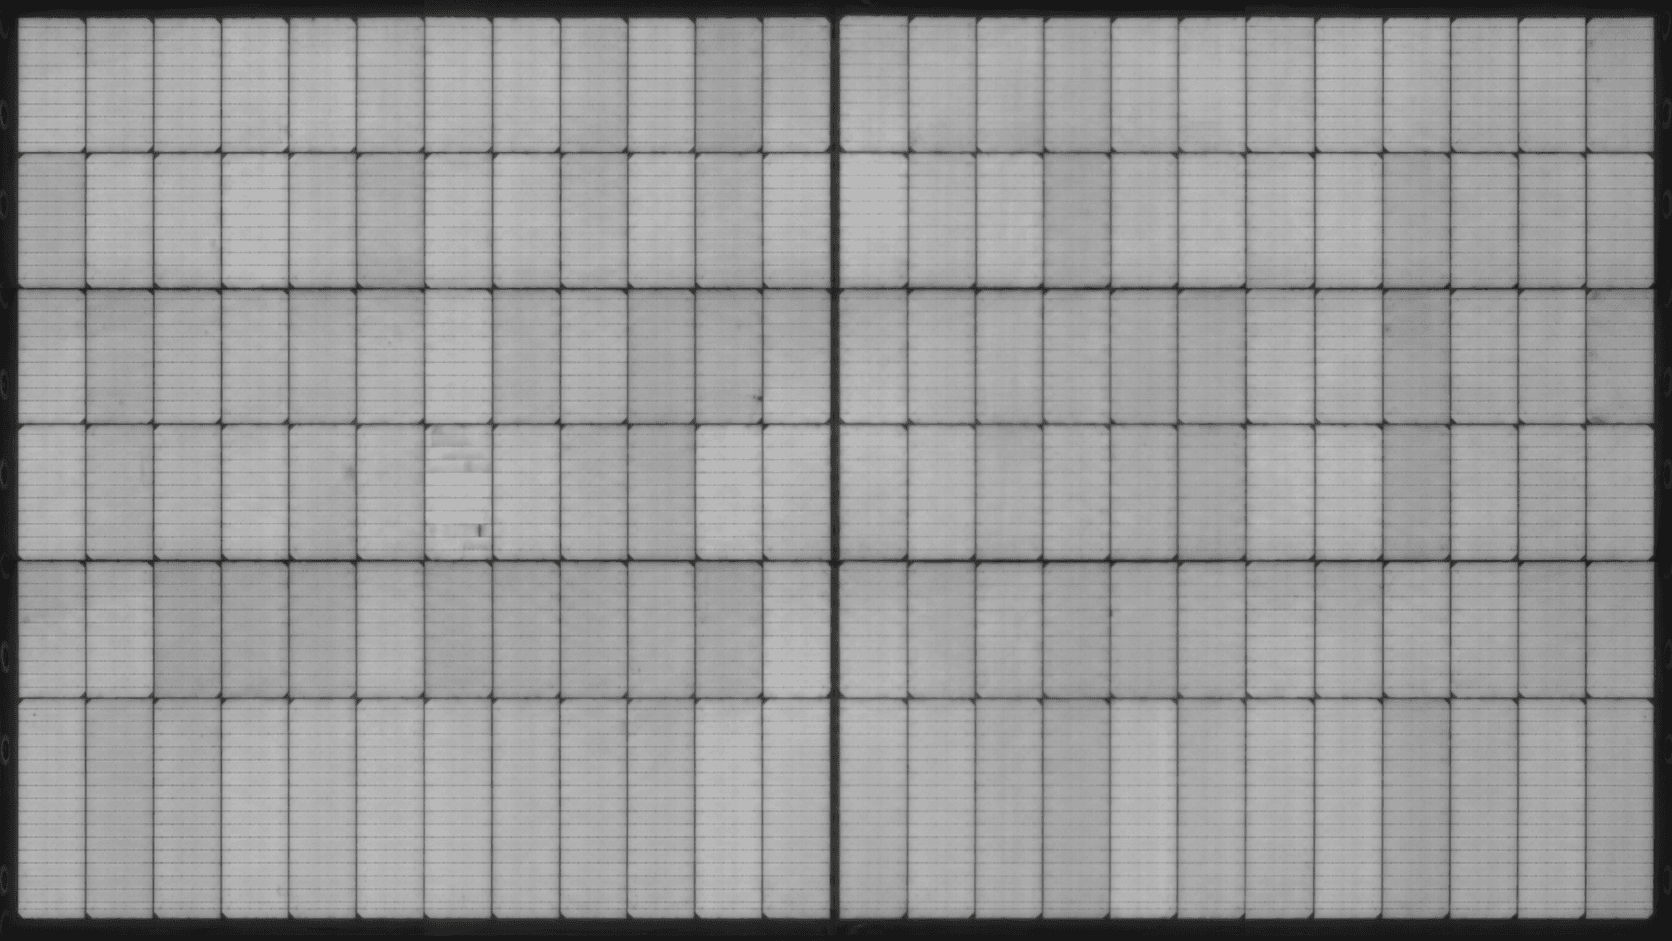
EL scan — cell-level defect analysis
Cell identified
Finding
Crack — cell B4
Recorded inspection example
Inspection walkthrough

Find the defect.
See the detail.

Explore the source image, inspect the affected cell and understand the finding in context.

EL scan — Crack
Crack — cell localised
Recorded inspection example
Crack — cell close-up
Cell detail
Same source image
Finding

Crack

Cracks appear as dark linear features in EL imaging. They affect current flow within the cell and may grow under mechanical or thermal stress.

Cell reference

Dark linear region localised within the cell. Position recorded within the panel grid.

Cell-level review

A closer look at the finding.

Explore a detailed cell review with the finding, panel context and operator controls in one view.
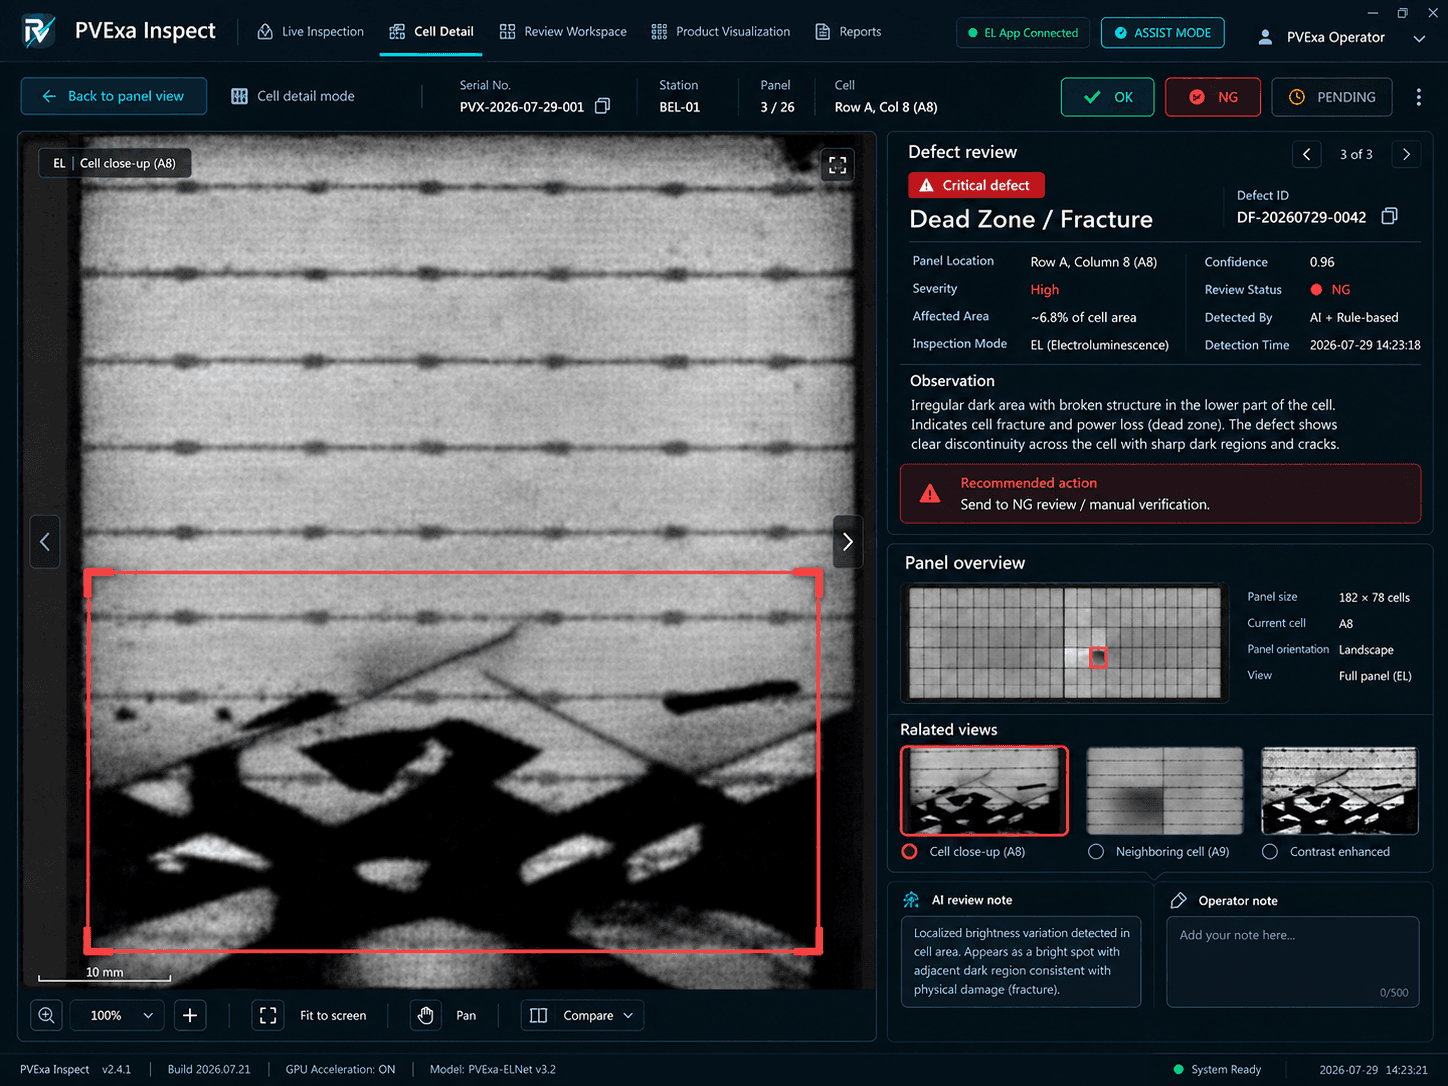
PVExa cell detail view

Illustrative product view. Example interface data shown.

Defect coverage

Explore examples of cell-level findings.
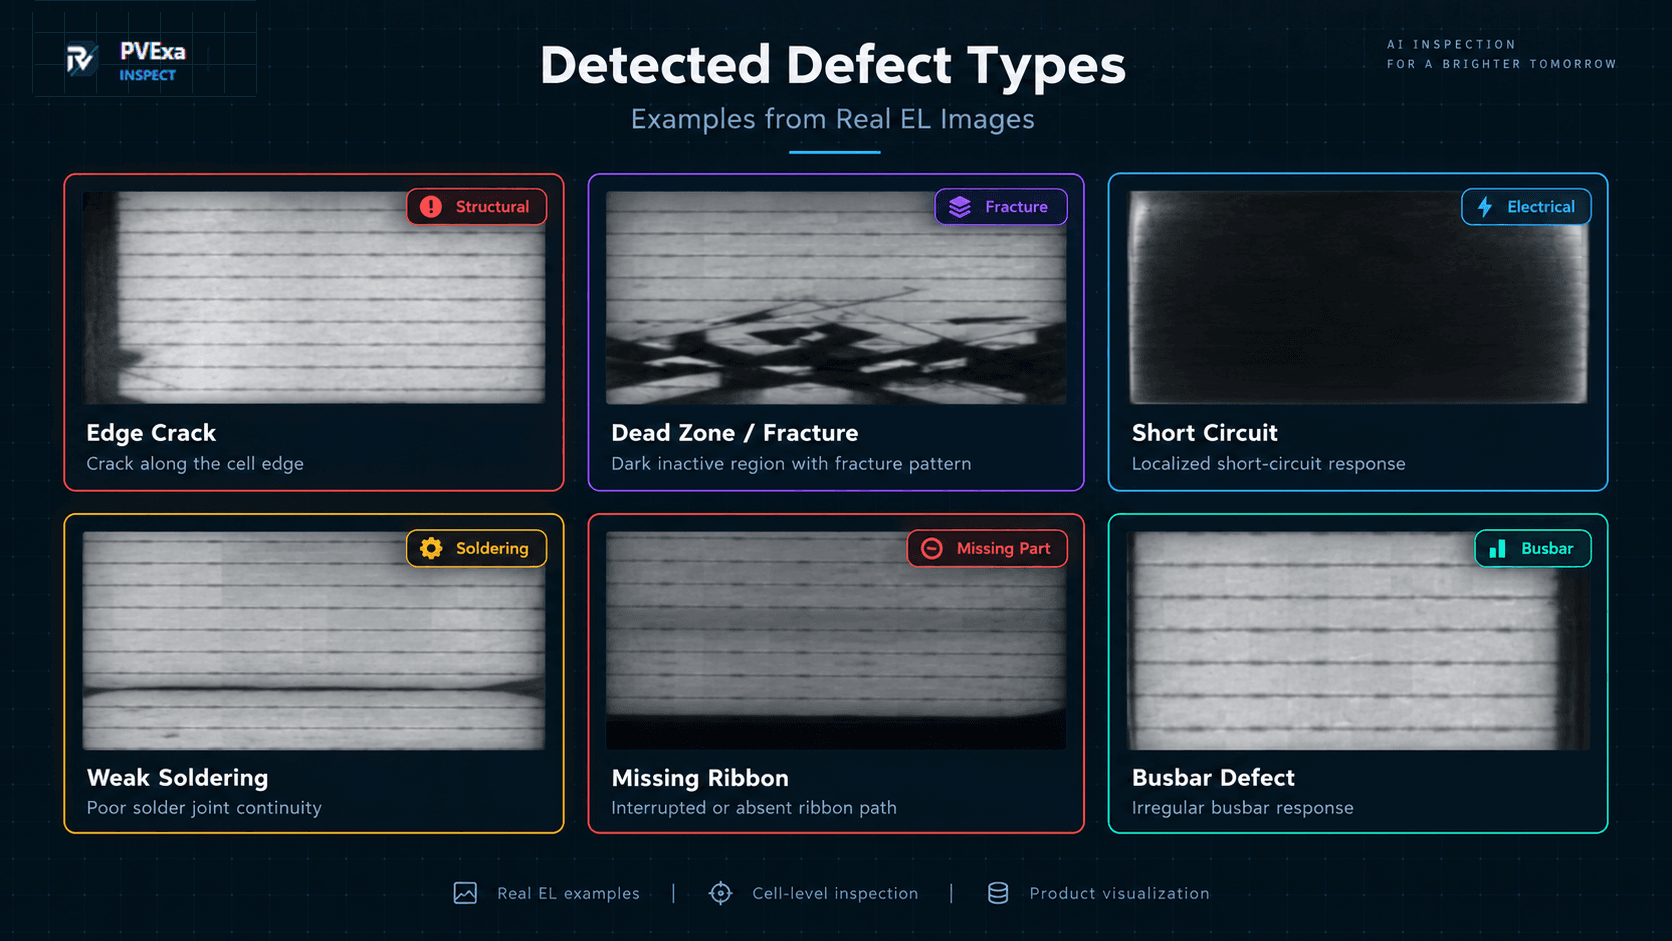
PVExa detected defect types
Quality evaluation

Your criteria shape
the decision.

Detecting a defect and deciding whether a panel meets your standard are separate steps. PVExa connects inspection findings with your defined quality criteria — it applies them, not sets them.

Finding
Crack detected — cell B4
Single-cell linear feature identified in EL image.
Illustrative quality criteria
Two quality profiles
Profile A
ACCEPT

The defined criteria allow this finding. Class-3 cracks are within the accepted range under this profile.

Profile B
REJECT

The defined criteria reject this finding. Class-3 cracks trigger a reject under this profile regardless of extent.

Production images
The model is trained on EL images from your station, under your imaging conditions — not on generic solar datasets.
Defect definitions
The defect catalog is aligned with your production process. Classes and descriptions reflect the defects relevant to your line.
Acceptance criteria
Thresholds and accept/reject rules are defined by your quality team. The model applies them; it does not set them.
Operator experience

Clear findings.
Operator control.

PVExa inspection workspace

Illustrative product view. Example interface data shown.

01
Review the finding
The operator sees the source EL frame alongside the inspection finding — defect class and cell location.
02
Confirm the classification
The identified cell and defect category are shown with the cell position within the panel grid.
03
Return the result
The finding is presented before the result is returned to the workflow. The operator can confirm or flag for further review.
Automatic decisions
Automatic operation is scoped to validated classes, agreed criteria and the configured production workflow. Scope confirmed during deployment.
Architecture & prerequisites

Built for your inspection workflow.

Compare manual review with an AI-assisted inspection workflow connected to the EL application.
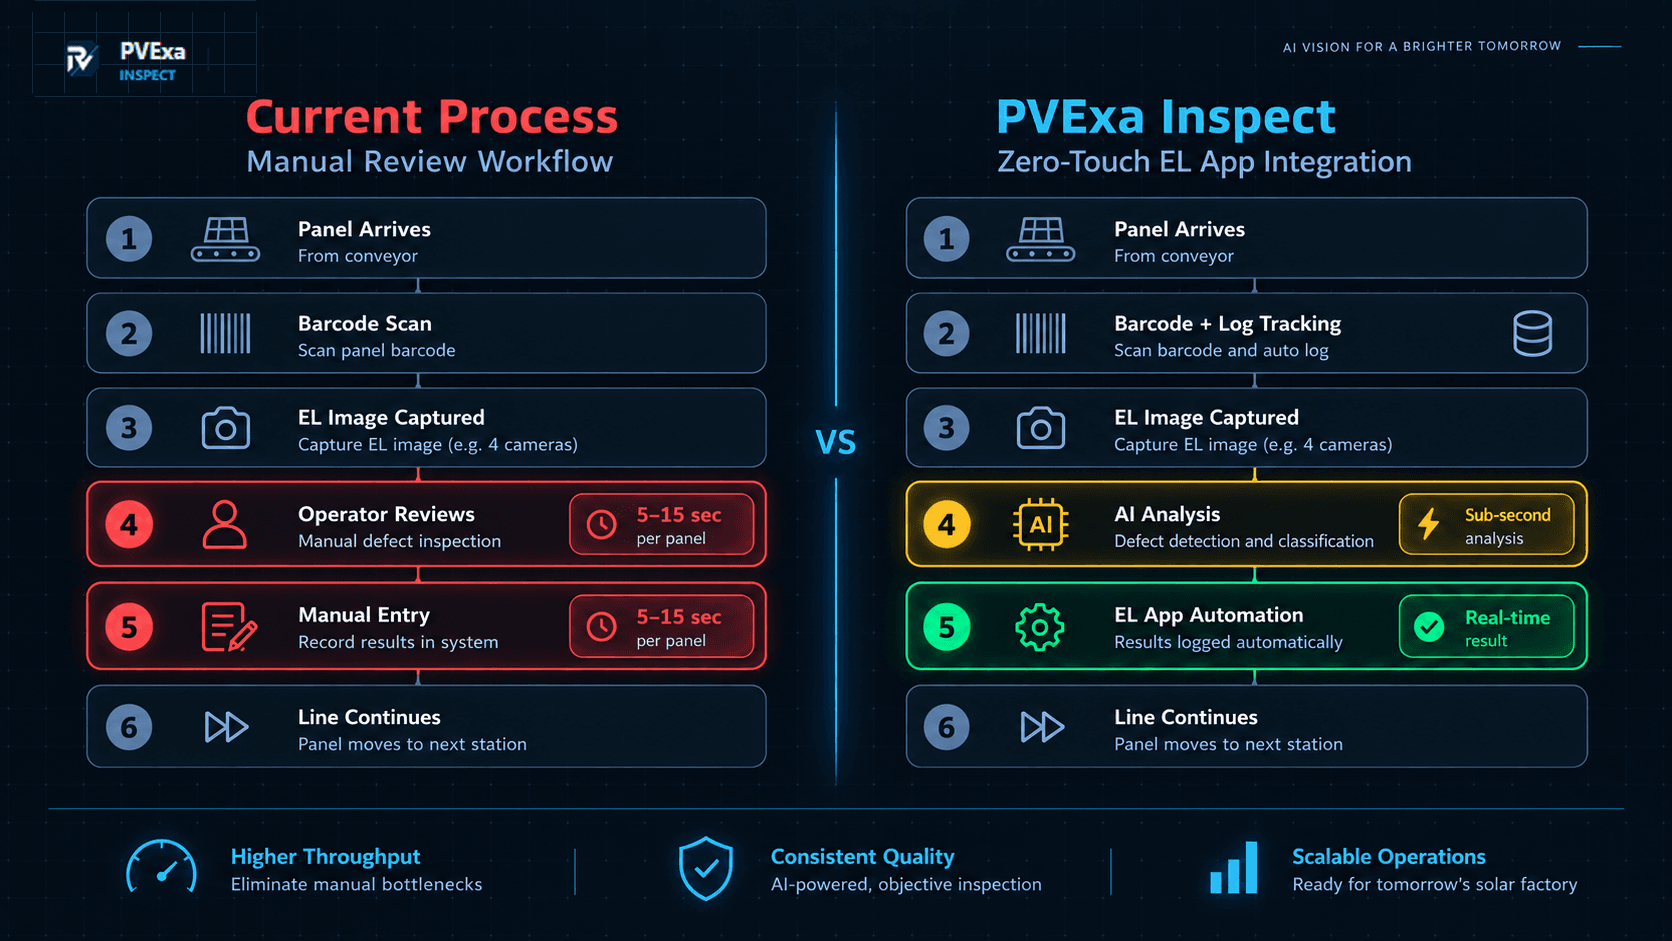
PVExa process comparison — manual vs AI-assisted

Illustrative automated workflow. Operator confirmation remains part of assisted operation.

PVExa runs inference locally and connects inspection results to the existing EL workflow. Integration connects to the EL application's existing inspection pipeline — no separate cloud step for production decisions.

Local inference
Inspection runs on local GPU hardware. Latency and availability are not dependent on a network connection.
What your deployment needs
Compatible EL station workflow.
Windows environment and suitable local GPU.
Representative production EL images.
Defined defect categories and acceptance criteria.
Quality, IT and automation team coordination.
Product questions

Before you go further.

See PVExa Inspect
in action.

Explore the product with our team and discuss your EL station, defect catalog and quality workflow.

Book a demo